 Datum Design Journal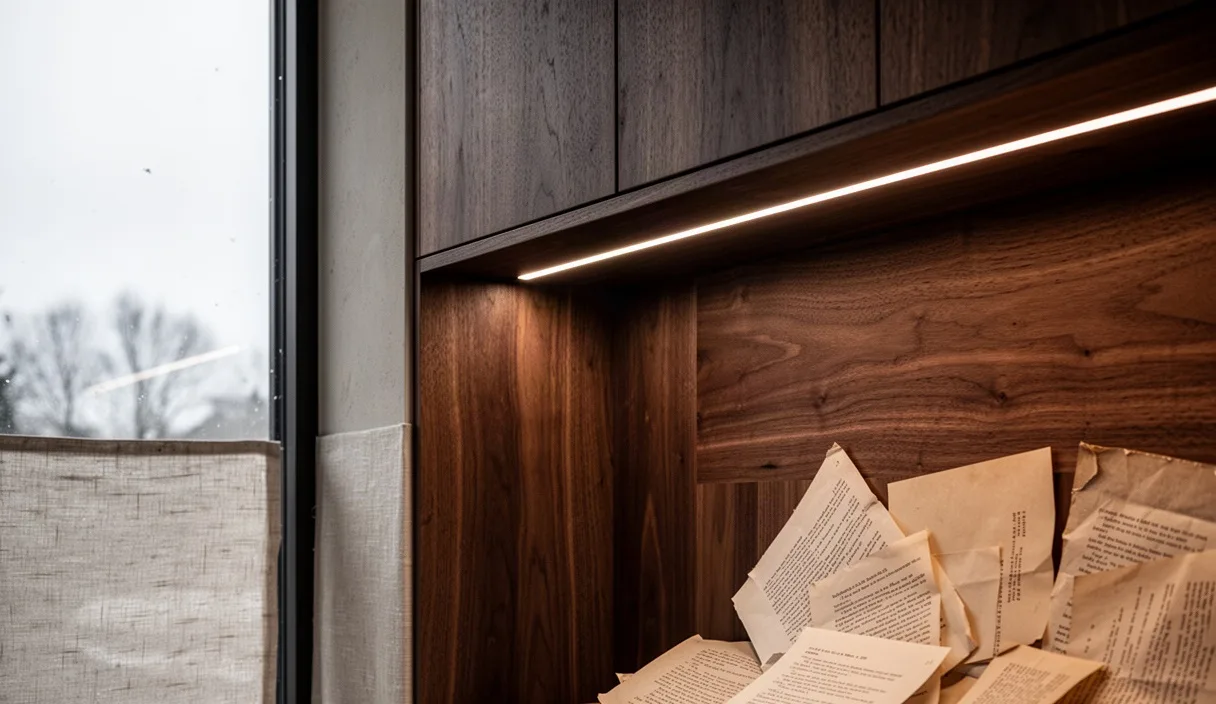
In architectural joinery and surface-mounted lighting details, a visual hotspot occurs when an observer perceives distinct, individual points of light instead of a continuous, uniform line of luminance. This defect, often called diode imaging, compromises the visual intent of millwork reveals, cove details, and under-cabinet planes. Preventing diode imaging requires precise geometric alignment between the light source and the optical diffuser, alongside a grounded understanding of how materials scatter, reflect, and absorb photons.
Eliminating hotspots involves balancing conflicting variables. Increasing the distance between the emitter and the diffuser improves light blending, but it requires deeper profile extrusions that frequently clash with the space constraints of millwork panels and joinery substrates. Alternatively, specifying heavy optical diffusers with high pigment density eliminates imaging within compact channels, but causes substantial transmission loss that demands higher operational wattage. Achieving continuous, unspotted linear output requires the specifier to coordinate diode pitch, extrusion channel depth, diffuser resin types, and thermal requirements before issuing shop drawings.
Diode Density, Diode Pitch, and Extrusion Channel Depth
The primary geometric factor governing whether an LED strip presents hotspots is the ratio of extrusion channel depth to diode pitch. Diode pitch represents the center-to-center distance between adjacent LED chips on the flexible printed circuit board (FPCB). Channel depth represents the clear interior distance between the mounting face of the FPCB and the inside surface of the diffuser lens.
As an empirical rule, when paired with an opal diffuser, the clear interior depth of the channel must equal or exceed the diode pitch distance to achieve a unified beam. This is expressed as a depth-to-pitch ratio ($D/P$) of at least 1.1 to 1.3 for uniform visual diffusion under direct viewing. If a frosted or semi-clear lens is specified instead, the required $D/P$ ratio increases to 1.8 or higher, as these materials exhibit lower scattering coefficients.
Linear LED tapes are manufactured in standard configurations with varying diode densities, measured in chips per linear meter:
- 60 LEDs per meter: Diode pitch is 16.6 mm. Achieving hotspot-free diffusion requires an internal extrusion depth of at least 19 mm to 22 mm when using an opal lens. Shallow channels paired with 60-diode tape consistently show individual bright nodes.
- 120 LEDs per meter: Diode pitch is 8.3 mm. This configuration achieves uniform diffusion within profiles featuring an internal depth of 10 mm to 12 mm.
- 240 LEDs per meter: Diode pitch is 4.1 mm. This high-density layout blends effectively in shallow extrusions down to 6 mm in interior depth.
- Chip-on-Board (COB) tapes: Multiple bare dies are covered by a continuous phosphor layer, typically featuring 480 to 528 chips per meter. COB strips feature a virtual pitch under 2.1 mm, creating a completely homogeneous appearance even inside ultra-shallow 4 mm surface profiles or when viewed behind translucent thin lenses.
When selecting channel depth, subtract the thickness of the FPCB (typically 0.25 mm to 0.4 mm) and the thickness of the mounting tape (typically 0.2 mm for acrylic adhesives) from the gross profile interior dimension. Failure to account for these component thicknesses will reduce the calculated optical cavity depth by up to 0.6 mm, which can reveal faint diode nodes in ultra-shallow profiles.
Transmission Loss Comparisons: Opal vs Frosted vs Prismatic
Diffusers function through different optical mechanisms: bulk scattering, surface refraction, or micro-prismatic redirection. Selecting a diffuser profile requires balancing optical diffusion against light loss, known as transmission reduction.
Opal diffusers, often manufactured from polymethyl methacrylate (PMMA) or polycarbonate (PC) infused with titanium dioxide or silicon dioxide micro-particles, rely on volumetric scattering. Photons undergo multiple internal reflections before exiting the material. This produces the highest diffusion quality, masking chips even at steep viewing angles, but causes substantial lumen reduction. Typical light transmission through an opal PMMA lens falls between 58% and 72%, depending on wall thickness and particle concentration.
Frosted diffusers rely on chemical etching, sandblasting, or surface texturing during extrusion to create micro-facets on the exterior or interior surface. Because the core substrate remains clear, light paths are altered only at the boundary layer. Frosted lenses provide transmission rates between 81% and 89%, but they do not scatter light uniformly across the profile. Instead, they produce a bright central band flanked by softer falloff, making them unsuitable for shallow profiles where diodes sit close to the lens.
Prismatic diffusers incorporate structured micro-grooves or linear pyramidal arrays along the optical face. These structures redirect light along calculated paths, controlling the beam cut-off and reducing visual glare (Unified Glare Rating, or UGR) without scattering light arbitrarily. While transmission remains high, typically between 87% and 93%, prismatic profiles do not completely hide distinct diodes unless paired with high-density tape layouts, such as 240 chips per meter or COB strips.
| Diffuser Material and Type | Optical Transmission Range | Diffusion Quality | Primary Scatter Mechanism | Recommended Minimum D/P Ratio |
|---|---|---|---|---|
| Opal PMMA (Cast/Extruded) | 58% to 68% | Complete blending | Volumetric internal scattering | 1.1 |
| Opal Polycarbonate | 62% to 72% | High blending | Volumetric internal scattering | 1.2 |
| Frosted Polycarbonate | 81% to 89% | Moderate (soft central halo) | Surface boundary refraction | 1.8 |
| Prismatic PMMA / Micro-optic | 87% to 93% | Low (diode visible at angles) | Engineered geometric refraction | 2.4 |
| Satin Clear Blend | 76% to 84% | Moderate to high | Combined micro-bead and surface frost | 1.5 |
Polycarbonate offers higher impact resistance and a higher flammability rating (often UL 94 V-0 or V-2) compared to PMMA (typically UL 94 HB). However, PMMA retains superior resistance to ultraviolet discoloration, preventing the yellow shift that increases transmission loss and degrades color rendering over extended run times.
Thermal Dissipation Capacities of Architectural Extrusions
Thermal management directly affects the long-term optical output and structural stability of linear installations. Architectural extrusions perform two distinct tasks: serving as an optical mounting channel and acting as the primary heat sink for the LED assembly. High-output tapes generate heat at the diode junction; if this heat does not dissipate into the extrusion and surrounding air, it degrades both the phosphor layer and the carrier substrate.
Most aluminum channels are extruded from 6063-T5 aluminum alloy, which has a thermal conductivity of approximately 201 to 209 W/(m·K). The cross-sectional mass of the aluminum profile determines how many thermal watts it can dissipate without its surface temperature exceeding structural limits. As a baseline guideline, architectural joinery applications should keep the tape solder-point temperature ($T_s$) below 65 degrees Celsius under continuous operation. Operating beyond this limit accelerates lumen depreciation and triggers color drift across the array.
Dissipation capacity is expressed in supported electrical watts per linear meter. A shallow surface extrusion measuring 15 mm wide by 6 mm deep, with an aluminum wall thickness of 1.0 mm, dissipates between 8 and 11 watts per linear meter within open air. If this same extrusion is routed flush into a wood or medium-density fiberboard (MDF) substrate, the thermal dissipation capacity drops by roughly 30% to 40% because wood and MDF have low thermal conductivities (approximately 0.13 W/(m·K)). Recessed profiles require higher mass or broader external flanges to prevent heat buildup within the millwork cavity.
Heavy architectural extrusions featuring integrated heat sink fins, thick walls (1.5 mm to 2.2 mm), and greater surface area can dissipate up to 28 watts per linear meter in ambient room conditions. When driving high-lumen, high-wattage tapes (such as 19.2 to 24 W/m intended for primary indirect cove lighting), check that the extrusion mass meets the thermal dissipation criteria specified by the tape manufacturer before finalizing channel selection.
Mitered Corner Connectors and Continuous Lens Rolling
Geometric discontinuities in joinery details, particularly inside and outside 90-degree corners, introduce pronounced dark spots or localized flares if the junction is poorly detailed. When two extrusion segments meet at a mitered corner, standard FPCB ribbons cannot simply fold flat without damaging their internal copper traces or causing delamination of the thermal interface tape.
Solderless click-on corner connectors are common points of failure: their plastic housings are substantially wider than the ribbon, pushing the nearest active diode 12 mm to 20 mm away from the internal apex of the miter. This produces a noticeable, dark gap at the corner. To maintain uniform illumination across inside and outside corners, apply these joinery practices:
- Staggered Soldered Jumper Wires: Cut the tape along marked cut-lines just short of the corner. Run short, flexible 20 AWG to 22 AWG insulated copper jumper leads between the cut tape ends. Route these wires through an undercut slot or relief hole milled into the base of the aluminum channel, allowing the active emitters to sit as close to the mitered intersection as the copper pads permit.
- Overlapping Diode Boards: In wide-profile extrusions, lap specialized corner boards over one another so that the diode pitch across the corner matches the linear pitch of the straight runs.
- Precision 45-Degree Miter Cuts: Cut both the aluminum channel and the diffuser lens on a precision drop saw fitted with a high-tooth-count carbide blade dedicated to non-ferrous metals and acrylics. Cut the lens while it is seated within an aluminum off-cut to avoid chipping or cracking the leading edges of the plastic.
To eliminate optical breaks on long runs, avoid butting individual rigid lens segments together. Every butt joint introduces a visible dark seam due to internal refraction and slight dimensional tolerances. Instead, specify continuous-roll lenses. These rollable diffusers, made from high-flexibility optical PC or blend resins, are shipped in coils up to 30 or 50 meters in length.
To install a continuous lens, fix the aluminum extrusions, pull the cabling, mount the tape, and verify the circuit. Then, press the single uninterrupted diffuser lens into the profile track across the entire length of the run, cutting it only at the terminal end-caps. This produces an unbroken luminous face without visible joins.
Color Shift Risks from Incorrect Driver Current Matching
Visual uniformity involves not only consistent brightness, but also consistent color temperature along the fixture length. A common mistake that introduces visual artifacts is poor driver matching, which causes chromaticity shift. Chromaticity shift occurs when individual diodes emit light with differing spectral distributions, moving away from the planned MacAdam ellipse tolerance (SDCM).
Linear tapes operate using either Constant Voltage (CV) architectures, typically 24V DC, or Constant Current (CC) architectures. Constant Voltage strips feature integrated on-board resistors that govern the current feeding each parallel bank of diodes. If a CV system is subjected to excessive cable runs without balancing, voltage drop occurs along the copper traces. As the delivered voltage falls below the target operating threshold, the forward current drops, changing the balance between blue die emission and the yellow/green phosphor coating. The fixture may appear warm white (e.g., 3000K) near the feed point, but drift toward a cooler, greenish hue or a dimmer, reddish hue near the tail.
To prevent driver-related color shift and uneven illumination, implement the following electrical rules:
- Limit Single-Feed Run Lengths: Avoid powering standard 24V linear tapes past 5 meters from a single feed point. For runs between 5 and 10 meters, feed the tape from both ends. For runs exceeding 10 meters, install parallel secondary power buses or separate power feeds to equalize the applied voltage across every segment.
- Match Dimming Methods to Application: Pulse-Width Modulation (PWM) drivers maintain constant forward current during active pulses, altering perceived brightness by modulating duty cycles. This keeps the correlated color temperature (CCT) stable throughout the dimming range. Conversely, Amplitude Modulation (Constant Current Reduction, or CCR) dims the fixture by lowering analog current. While CCR operates without high-frequency electrical noise, lowering the drive current can alter the emission spectrum of the phosphor, causing visible color drift at dim levels below 20%.
- Avoid Overdriving Current: Operating drivers at or near their maximum thermal ratings increases output ripple. This ripple current creates minor, continuous fluctuations in diode junction temperatures, accelerating the degradation of phosphor coatings and causing premature chromaticity drift along the fixture.
Common Mistakes
- Recessing shallow channels into unventilated woodwork: Trapping shallow extrusions in unvented wood details without sufficient aluminum mass causes thermal buildup. This accelerates lumen loss and degrades the adhesive backing, causing the tape to detach and press against the lens.
- Selecting diffusers using ambient room lighting: Evaluating lens diffusion on an unpowered sample board under ceiling downlights masks imaging issues. Always evaluate diffuser mockups with the diodes powered at their operational current, checking both full-brightness and dimmed states.
- Failing to account for thermal expansion: Aluminum and PMMA expand and contract at different rates. Aluminum 6063 has a thermal expansion coefficient around 23 micro-strains per degree Celsius, whereas PMMA sits near 70 micro-strains. In long exterior or sun-exposed linear details, cutting lenses tight against aluminum end-caps leads to lens buckling or bowing away from the profile track.
- Using clear cover strips to keep dust out: Specifiers sometimes choose clear covers to maximize light output, assuming the diode density alone will create a smooth appearance. Clear plastic covers do not scatter light; they protect the chips from dust while leaving the individual point sources visible to the eye.
- Omitting power feed dimensions during joinery planning: Forgetting to design wire paths, terminal blocks, and secondary driver locations forces installers to drill field penetrations through the bottom of the channel. These off-center holes can force the LED tape to bridge over the opening, creating an irregular bump that sits closer to the lens and forms an unexpected hotspot.
Practical Next Steps
- Determine the Primary Angle of View: Establish whether the linear detail sits in direct line of sight (such as an under-shelf fixture viewed while seated), an indirect cove condition, or a low-angle graze against a vertical wall. Direct line of sight requires complete diffusion ($D/P \ge 1.2$ with an opal lens), while indirect conditions can tolerate lower diffusion or frosted lenses with higher light transmission.
- Establish the Spatial Envelope: Measure the maximum allowed depth and width within the joinery substrate. If the millwork detail restricts the total channel depth to less than 10 mm, specify a high-density tape (240 LEDs/m) or a continuous COB strip to prevent diode imaging.
- Calculate the Combined Photometric Loss: Multiply the base rated output of the chosen LED tape by the optical transmission percentage of the selected diffuser (for example, 1200 lumens/m tape multiplied by 0.65 for an opal lens yields an effective output of 780 lumens/m). Confirm that this net output meets the lighting criteria for the target surface.
- Build a Scale Mockup: Construct an in-situ or bench-scale mockup using the specified profile, lens, LED tape, and dimming driver. Test the assembly across its entire dimming range (1% to 100%) to verify that no diode imaging or color shifts occur when current levels drop.
- Coordinate with Mechanical and Electrical Trades: If the linear installation requires continuous runs over 5 meters, consult an electrical engineer or licensed contractor to calculate precise line losses, size secondary feeds, and identify accessible remote driver enclosures that comply with local electrical codes.